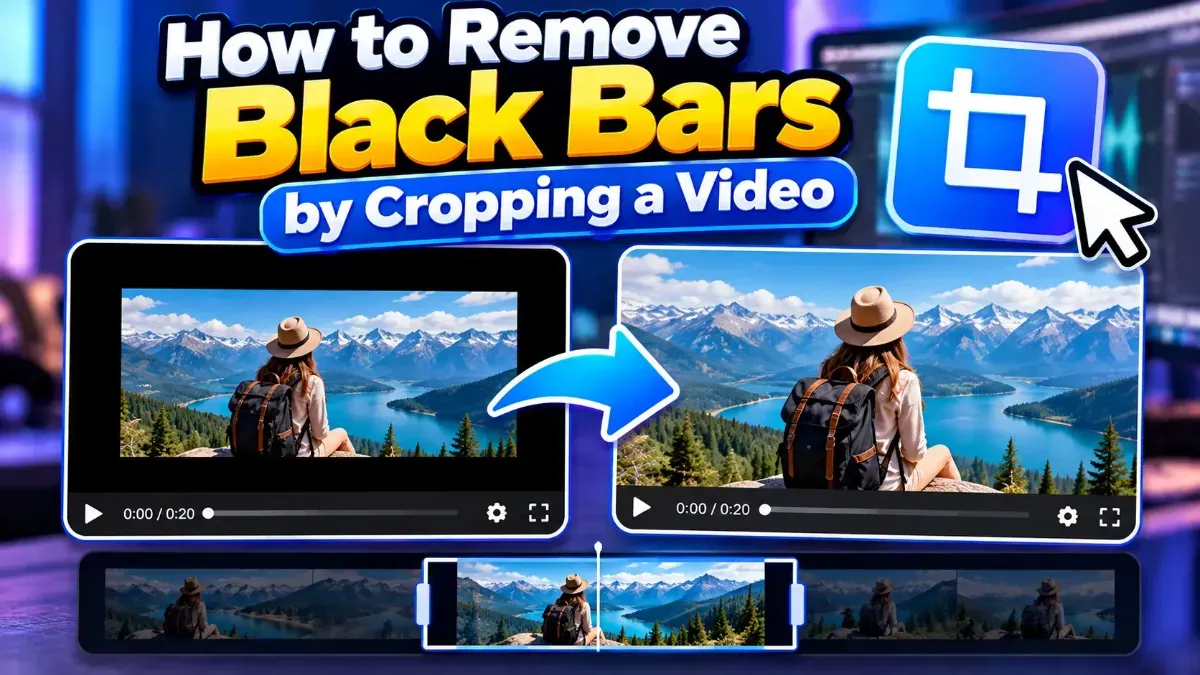
How to Remove Black Bars by Cropping a Video
Learn how to remove black bars from a video by cropping the frame carefully. Find out when cropping works, how to choose an aspect ratio, and what to check before exporting.
If your video looks blurry after resizing, the cause is often upscaling, compression, or the wrong export settings. Learn how to identify the problem and improve the result.
 ToolCMB Team
7 min read

If your video looks blurry after resizing, the most common causes are enlarging a low-resolution source, using a low export bitrate, or applying too much compression. The resize itself may change the picture’s dimensions, but export settings and the quality of the original footage determine how much detail survives. You can often improve the result by resizing from the best available source and choosing suitable output settings.
Resizing changes how many pixels represent each frame. When you make a video smaller, software has to combine or discard pixel information. When you make it larger, it has to estimate new pixels from the ones already present. Neither operation can create genuine detail that the camera never captured.
That means a resized video can look softer for several different reasons. The solution depends on whether the problem is in the source, the resize, the export, or the way the finished file is being played.
Upscaling is a frequent reason for blur. For example, turning a small video into a much larger frame requires the software to fill in missing pixels. Basic interpolation smooths the gaps, which can make edges and fine textures appear soft. More advanced methods may improve the appearance, but they still cannot recover details that are absent from the original.
If possible, start with the original camera file or the highest-resolution version available. Avoid enlarging a video just to match a larger display if a smaller playback size is acceptable.
Video files are usually compressed to reduce their size. If the export uses too little bitrate for the resolution, frame rate, or motion in the footage, the encoder has less data available to describe each frame. Fine details may look smeared, blocky, or noisy, especially in fast-moving scenes.
Compression can also happen more than once. Editing a previously compressed copy, exporting it, and then resizing that export can compound softness and artifacts. Whenever practical, make edits from the original source and export only once.
Changing width and height independently can stretch or squash the picture. That distortion may not look like ordinary blur, but it can make faces, shapes, and edges seem wrong or less defined. Cropping to fit a new frame can also cut out important parts of the image.
Keep the original proportions when resizing unless you intentionally want to crop or reframe the video. If the target format has a different shape, decide whether to crop, add borders, or use a background rather than stretching the footage.
Resize methods use different approaches to calculate pixels between the source and output sizes. Some prioritize smoothness and reduce jagged edges; others preserve sharper boundaries but may make aliasing or ringing more noticeable. A filter that looks good on one type of footage may not suit another.
Small text, interface recordings, animation, and crisp graphic edges can respond differently from natural scenes. If your editor offers resize or scaling options, compare a short export using a sharper setting with one using a smoother setting.
A video may appear blurry in an editing preview, browser window, or messaging app because that view is being scaled to fit its container. The original file could be sharper than the preview suggests. Conversely, some services create lower-quality playback versions before a higher-quality version is ready.
Check the exported file in a reliable player and view it at its intended size. Avoid judging quality from a tiny preview, a paused frame during playback, or a window that enlarges the video beyond its actual resolution.
For a straightforward browser-based workflow, you can use the ToolCMB Video Resizer to change a video’s dimensions for a screen or platform. Start with a good-quality source, select an appropriate output size, and review the result before sharing it.
| Setting or factor | What it affects | Practical choice |
|---|---|---|
| Output resolution | Frame dimensions and visible detail | Use a size suited to the destination; avoid unnecessary upscaling. |
| Bitrate or quality | How much visual information is retained during compression | Choose a higher quality for detailed or fast-moving footage, if available. |
| Aspect ratio | Whether the picture keeps its original shape | Lock proportions, then crop or add borders if needed. |
| Resize filter | How pixels are calculated when dimensions change | Compare available filters with a short sample of your footage. |
| Source quality | The detail available before editing begins | Use the original recording rather than a compressed copy. |
Sometimes you can make a soft video look better, but the amount of improvement depends on why it became blurry. If the export was simply too compressed, returning to the source and exporting at a higher quality can help. If the video was stretched, correcting the aspect ratio may remove the distortion.
If the source was low resolution or has already lost detail through compression, no resize setting can perfectly restore the missing information. Sharpening may make edges look more defined, but too much can create halos, grain, or harsh outlines. Treat sharpening as a modest finishing adjustment, not a substitute for a better source.
Changing one variable at a time makes it easier to identify the cause. For example, keep the resolution constant while testing a higher quality setting, then compare the results. This avoids guessing and can prevent unnecessarily large exports.
Not always in a noticeable way. Making a video smaller can still look clear, but resizing changes pixel information, and compression during export may reduce detail. The result depends on the source, output size, and settings.
The resize process may soften fine details, or the export may use strong compression. Check the quality settings and compare the exported file with the original at a similar viewing size.
Upscaling can make a video fit a larger frame, but it cannot restore genuine detail that was never captured. It may look smoother or sharper with processing, but results vary.
A higher bitrate can reduce compression-related softness, but it cannot fix a poor source, incorrect aspect ratio, or excessive upscaling. Choose settings that address the actual cause.
For most workflows, edit from the best-quality source and export the finished video at the required dimensions. This helps avoid repeated compression and unnecessary quality loss.
We build fast, free and private browser tools — and write practical guides on how to use them.
Learn how to remove black bars from a video by cropping the frame carefully. Find out when cropping works, how to choose an aspect ratio, and what to check before exporting.
A phone video can look upright on your phone but sideways on a computer because the devices may interpret its rotation information differently. Learn why it happens and how to fix it.
Need a silent version of a clip without opening a video editor? Learn how to mute a video, save a separate copy, and check the result while keeping your original file.
Start typing to search tools and articles.