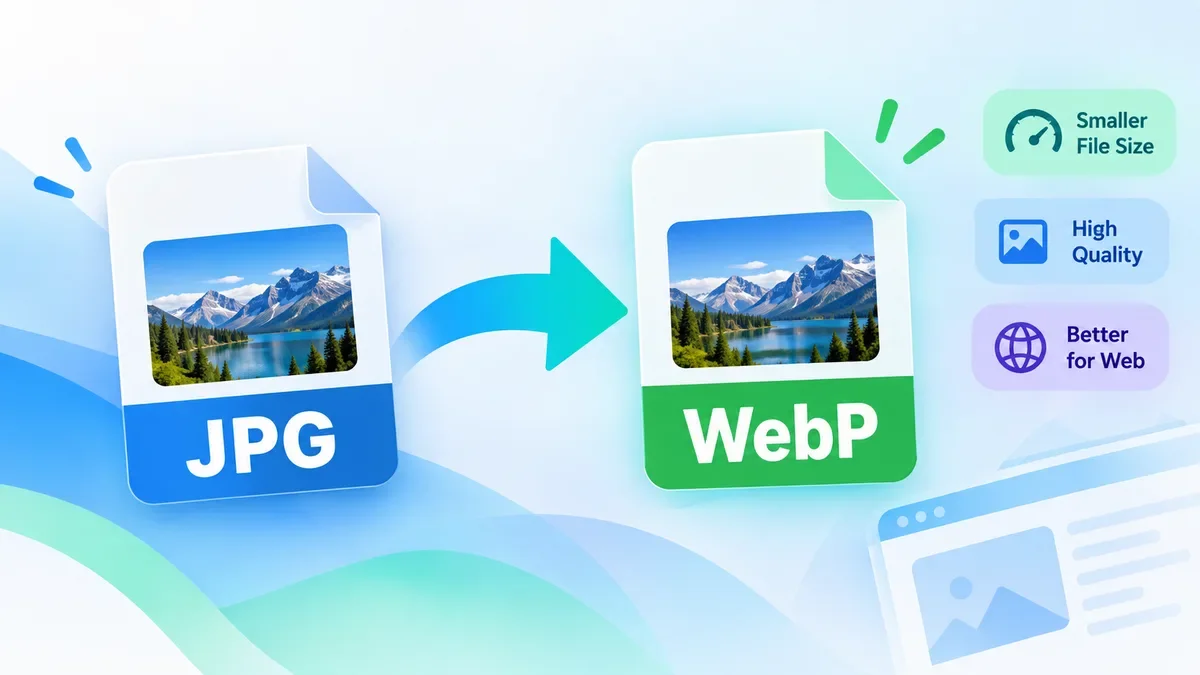
How to Convert JPG to WebP Online
Convert JPG images to WebP online for free with ToolCMB. Learn when WebP is a better choice than JPG, how to convert images without installing software, and what to check before using WebP on a website.
Large image files can slow down websites and increase the amount of data visitors need to download. Learn how to reduce image file size by resizing images, choosing the right format, adjusting compression quality, and removing unnecessary metadata—without making your images look noticeably worse.
 ToolCMB Team
9 min read
ToolCMB Team
9 min read
Large image files can slow down a website, increase bandwidth usage, and make pages feel less responsive, especially on mobile connections. The good news is that you often do not need to sacrifice noticeable image quality to make a file much smaller.
The most effective approach is usually a combination of resizing the image to an appropriate dimension, choosing an efficient image format, adjusting compression quality, and removing unnecessary data.
In this guide, you’ll learn practical ways to reduce image file size before uploading images to your website, including when to use JPG, WebP, or AVIF and how to choose the right dimensions for web content.
Images are often among the largest individual resources on a web page. A high-resolution photo from a modern phone or camera can easily be several megabytes, even when the image is displayed in a relatively small area on a website.
For example, a 4000-pixel-wide photo may look perfectly fine on a large monitor, but it may be unnecessarily large if your website only displays it at around 1200 pixels wide.
Reducing image dimensions and compression quality can significantly reduce the amount of data visitors need to download.
This is particularly useful for:
Homepage images
Blog post images
Product photos
Portfolio galleries
Hero images
Social media previews
User-uploaded photos
A smaller image does not automatically mean a lower-quality website. The goal is to find a sensible balance between visual quality and file size.
One of the simplest ways to reduce image file size is to reduce its dimensions.
Image dimensions and file size are related, but they are not the same thing. A 4000 × 3000 image contains far more pixels than a 1200 × 900 image, so it generally requires more data to store.
If an image will only be displayed at 1200 pixels wide, uploading a 5000-pixel-wide original may provide little practical benefit.
For example:
| Original image | Possible web size |
|---|---|
| 6000 × 4000 px | 1600 × 1067 px |
| 4000 × 3000 px | 1200 × 900 px |
| 3000 × 2000 px | 1200 × 800 px |
| 2000 × 2000 px | 1000 × 1000 px |
The exact dimensions depend on how and where the image is displayed.
You can use the ToolCMB Image Resizer to resize images by exact pixels, percentage, longest side, or print size. It also supports presets for common web and social media dimensions.
The image format you choose can have a major effect on file size.
JPG is a good general-purpose format for photographs and other images with many colors.
It is commonly useful for:
Photos
Blog images
Product photography
Background images
JPG uses lossy compression, which means some image information is discarded to achieve a smaller file.
WebP is often a strong choice for website images because it can provide smaller files while maintaining good visual quality.
It works well for:
Photographs
Blog images
Website graphics
Images where smaller downloads are important
If your website supports WebP, converting suitable JPG or PNG images to WebP can be an easy way to reduce file size.
AVIF is another modern image format designed for efficient compression.
It can produce very small files while maintaining good image quality, although browser support and workflow compatibility should be considered when choosing it for a particular website.
PNG is useful when you need lossless compression or transparency.
It is often appropriate for:
Logos
Icons
Screenshots
Graphics with transparency
However, PNG can be considerably larger than JPG or WebP for photographic images.
A simple rule: use the format that matches the type of image rather than automatically converting every image to the same format.
If you are using JPG, reducing the quality setting can significantly reduce the file size.
You do not necessarily need maximum quality for a website image. A properly compressed JPG can look almost identical to the original while being substantially smaller.
For example, instead of exporting every photograph at 100% quality, you can test a lower setting and compare the result visually.
The best setting depends on the image. Photos with lots of detail, gradients, or textures may need a higher quality level than simple graphics.
The goal is not to find the lowest possible quality. It is to find the lowest file size that still looks good at the image's actual display size.
If you already have a collection of JPG or PNG images, converting them to a modern format can be another way to reduce their size.
For example:
JPG → WebP
can be useful for photographs on a website.
Likewise:
PNG → WebP
may reduce the size of certain graphics while preserving transparency, depending on the image and conversion settings.
Your workflow can therefore look like:
Original photo → resize → convert format → adjust quality → upload
This is often more effective than relying on only one optimization step.
Sometimes you are not simply trying to make an image "smaller." You may have a specific requirement such as:
Under 100 KB
Under 200 KB
Under 500 KB
Under 1 MB
For example, a website upload form might reject images larger than 500 KB.
In this situation, resizing alone may not produce a predictable file size. You can combine dimensions, output format, and quality settings until the image meets the required limit.
ToolCMB's Image Resizer includes a Limit file size option with common limits such as 50 KB, 100 KB, 200 KB, 500 KB, and 1 MB.
This is particularly useful when you need to prepare images for websites with strict upload limits.
Image files can contain metadata such as EXIF information.
Depending on the image and workflow, metadata may include information such as:
Camera information
Orientation
Date and time
GPS information
Other technical metadata
Some websites do not need this information.
Removing unnecessary metadata can reduce file size slightly and can also help prevent unwanted information from being shared with an uploaded image.
However, metadata is not always useless. Photographers and professional workflows may intentionally preserve it, so consider whether you actually need it before removing it.
A common mistake is uploading the original camera or smartphone image directly to a website.
For example, imagine a blog layout where the main content area displays an image at approximately 900–1200 pixels wide.
Uploading a 6000-pixel-wide original means visitors may download substantially more image data than the page actually needs.
Instead, create an appropriately sized web version.
For responsive websites, you may need several image sizes rather than one extremely large image. This allows the browser to select an appropriate resource for different screen sizes.
Image optimization is especially important for visitors using mobile devices.
A visitor on a fast desktop connection may not notice a few extra megabytes as much as someone loading the same page over a slower mobile connection.
Consider optimizing:
Image dimensions
File format
Compression quality
Number of images loaded
Responsive image sizes
You should also avoid loading large images simply because they are available.
A mobile user viewing a small card thumbnail usually does not need the same source image that you use for a full-width desktop banner.
There is no single image dimension that works for every website.
Instead, start with the actual display size.
For example:
Blog content image: often around 1000–1600 px wide
Full-width desktop image: potentially wider
Small card thumbnail: considerably smaller
Social media image: use the dimensions required by the platform
Logo: use the dimensions appropriate for its displayed size
ToolCMB's Image Resizer provides ready-made presets for several common uses, including YouTube thumbnails, Instagram, Facebook, LinkedIn, and Open Graph images.
The important principle is simple: do not use a larger image than the design actually needs.
For most website images, you can follow this workflow:
Look at its dimensions and file size.
For example:
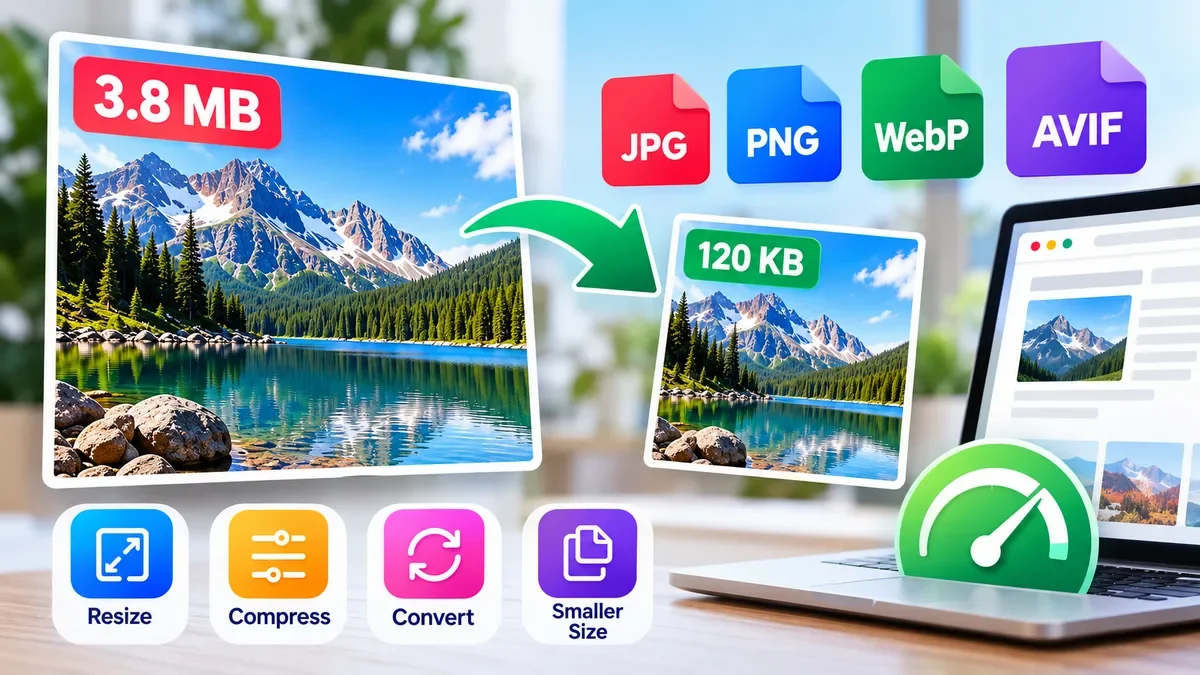
4000 × 3000 px — 3.8 MB
If the website only displays it at around 1200 pixels wide, resize it accordingly.
For a photograph, consider JPG, WebP, or AVIF.
For graphics requiring transparency, consider PNG, WebP, or another suitable format.
Reduce the quality gradually and compare the result at the size visitors will actually see.
Make sure the image:
Looks sharp enough
Has the correct dimensions
Is small enough for the intended use
Does not contain unnecessary metadata
Uses a format supported by your website
Keep the original image separately if you may need it later.
You can often reduce image file size without creating an obvious visual difference, but there is no universal setting that guarantees zero quality loss.
The result depends on:
Original image dimensions
Image format
Compression method
Quality setting
Image content
How large the image is displayed
For example, reducing a 4000-pixel image to 1200 pixels will technically remove pixel information. However, if the website only displays the image at 1200 pixels wide, the change may be difficult to notice.
For this reason, "without losing quality" is usually better understood as without noticeable quality loss at the intended display size.
There is no single best format for every image.
A practical approach is:
Photos: JPG, WebP, or AVIF
Transparent graphics: PNG, WebP, or AVIF where appropriate
Simple graphics and logos: PNG, WebP, SVG, depending on the asset
The correct choice depends on browser support, image content, transparency requirements, and your website's delivery setup.
There is no universal file-size target.
A small thumbnail might be perfectly usable at well under 100 KB, while a large photographic hero image may reasonably require more.
Instead of trying to force every image under an arbitrary number, consider the image's:
Display dimensions
Visual importance
Network cost
Compression quality
Page context
If a large hero image can be reduced from several megabytes to a few hundred kilobytes without an obvious visual difference, that is usually a much more meaningful optimization than simply applying the same 100 KB limit to every image.
Before uploading an image, ask:
Is the image larger than the displayed dimensions?
Do I really need the original resolution?
Would WebP or AVIF be appropriate?
Can I reduce JPG quality slightly?
Does the file contain metadata I do not need?
Is the final file size reasonable for its role?
Does the image still look good on desktop and mobile?
Small improvements across many images can make a meaningful difference to a website.
You do not always need to install desktop software to prepare images for the web.
With ToolCMB's browser-based image tools, you can resize images locally, choose an output format, adjust quality, and set a target file-size limit. The Image Resizer supports batch processing and ZIP downloads, which can be useful when preparing multiple website images at once.
The processing happens in the browser rather than requiring your images to be uploaded to a server.
For a typical website workflow, you can start with the Image Resizer, then use the appropriate image conversion tool when you need a different format.
Reducing image file size is not about making every image as small as possible. It is about delivering the right image at the right dimensions and quality for the job.
Start by resizing oversized images, choose an appropriate format, adjust compression carefully, and remove data you do not need. For larger batches, a browser-based tool can make the process much faster.
If you regularly prepare images for websites, social media, or online publishing, keeping an original copy and creating optimized versions for each use case is a simple workflow that can save bandwidth without sacrificing the visual experience.
We build fast, free and private browser tools — and write practical guides on how to use them.
Convert JPG images to WebP online for free with ToolCMB. Learn when WebP is a better choice than JPG, how to convert images without installing software, and what to check before using WebP on a website.
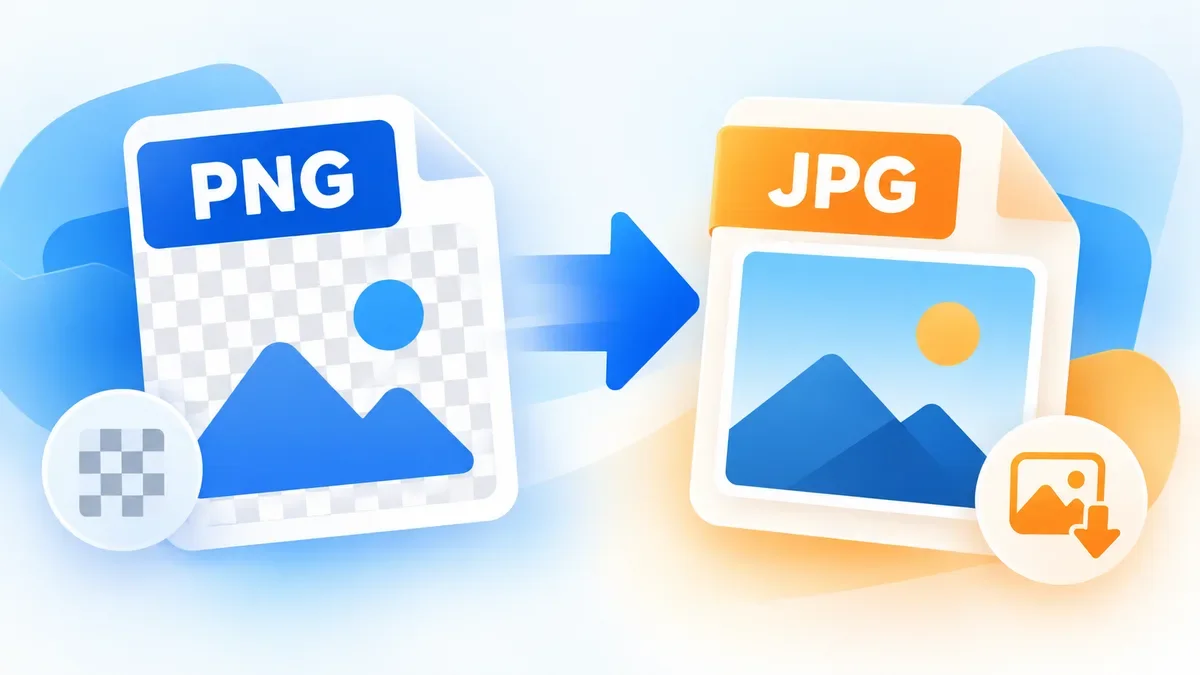
Learn how to convert PNG to JPG online, understand what happens to transparency and image quality, and choose the right format for photos, websites, screenshots, and everyday sharing.
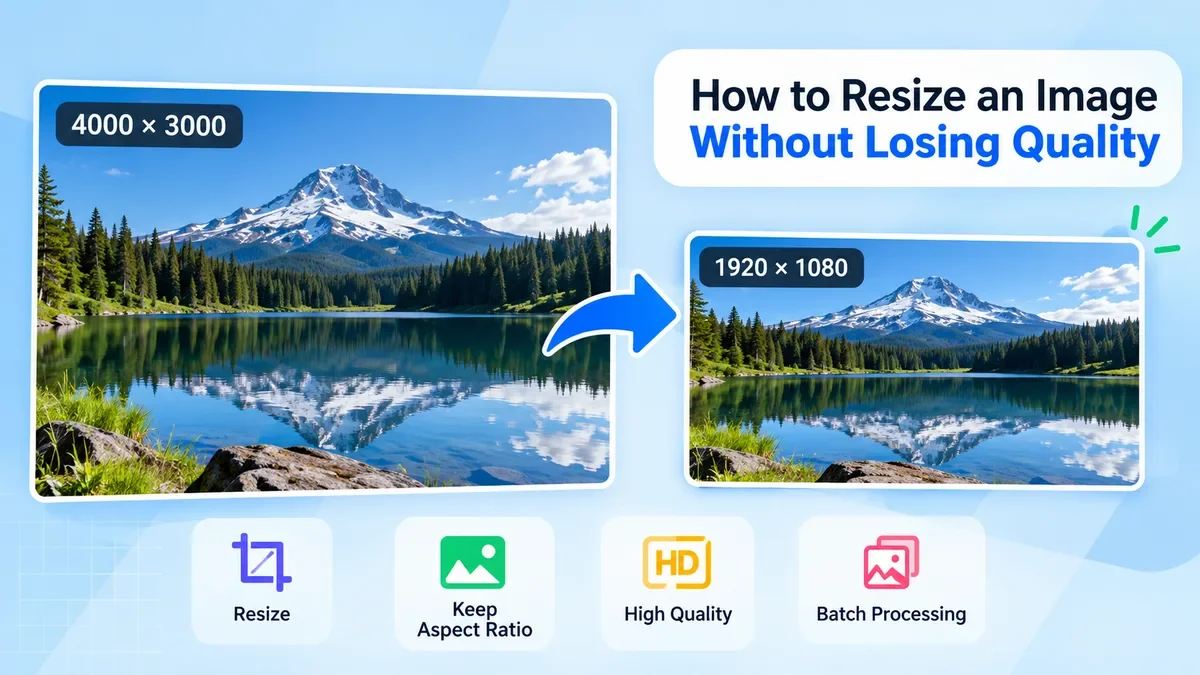
Learn how to resize an image without losing quality. This guide explains how to choose the right dimensions, preserve aspect ratio, avoid stretching, use the right resampling method, and resize images for websites, social media, printing, and other common uses.
Start typing to search tools and articles.