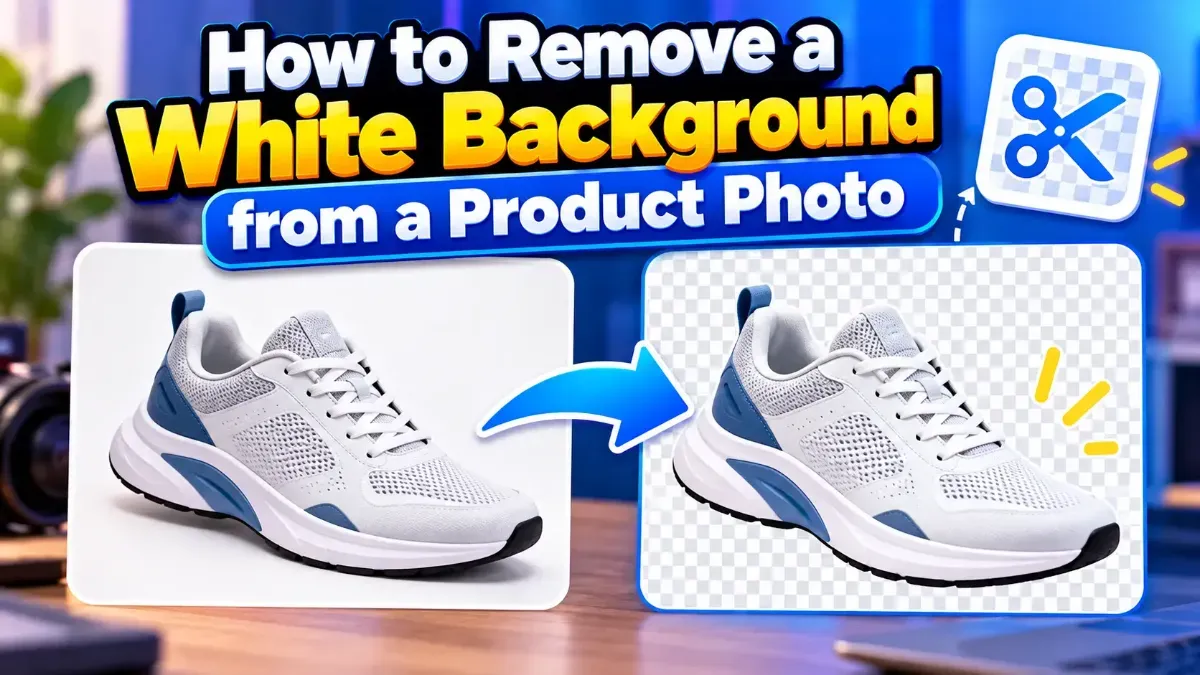
How to Remove a White Background from a Product Photo
Learn how to remove a white background from a product photo, preserve clean edges, export a transparent PNG, and avoid common cutout mistakes.
Learn how to resize an image to exact pixel dimensions without stretching it. Choose the right fit, preserve quality, and check the final file before sharing.
 ToolCMB Team
6 min read
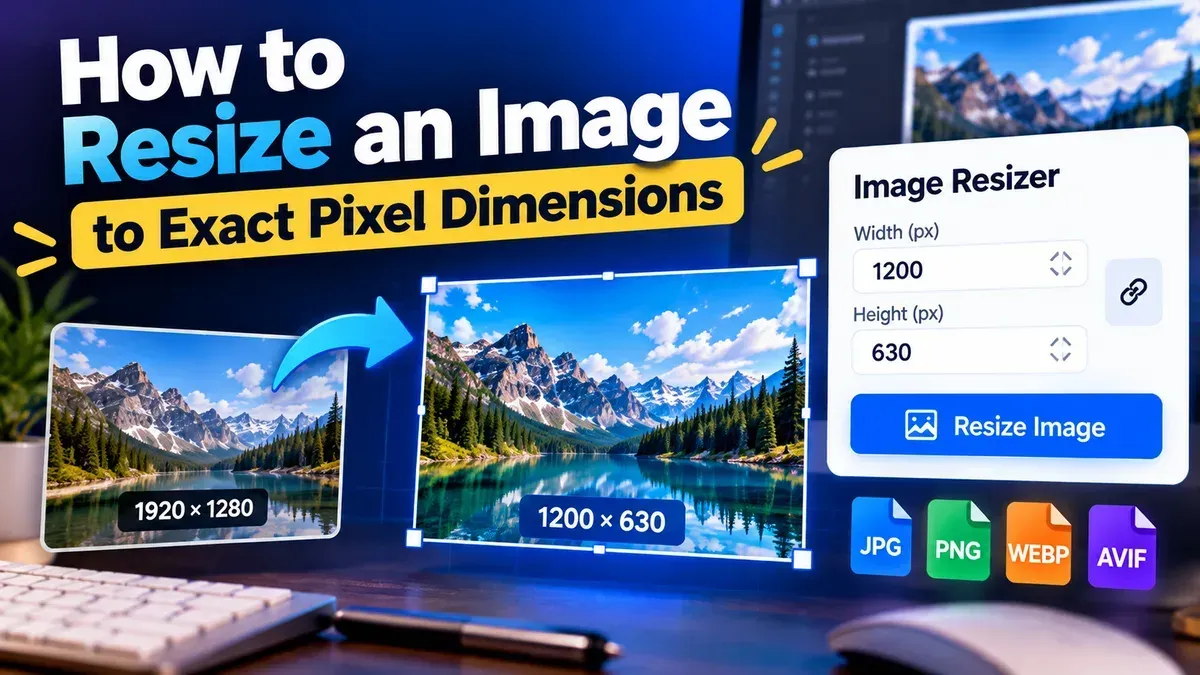
To resize an image to exact pixel dimensions, set the desired width and height in pixels, then export and verify the result. If the new dimensions have a different shape from the original, choose whether to crop, add space around the image, or accept distortion—simply forcing both numbers can stretch the subject.
This matters when a website, form, marketplace, or design template asks for a specific size, such as 1200 × 800 pixels. The key is to meet the pixel requirement while keeping the image clear and proportionate.
Use an image resizing tool that lets you enter a precise width and height. For example, ToolCMB’s Image Resizer can resize images to exact pixels or percentages, including in bulk. Before you start, find the required dimensions and decide what should happen if the image’s current aspect ratio does not match.
For a private workflow, ToolCMB’s image tools run in your browser, so files stay on your device. That can be useful when working with personal photos or documents you do not want to upload to a separate server.
Pixels are the small picture elements that make up a digital image. A 1200 × 800 image is 1200 pixels wide and 800 pixels tall. The pixel dimensions describe the image’s digital width and height; they are not the same thing as the physical print size.
Aspect ratio describes the relationship between width and height. An image that is 1200 × 800 has a 3:2 ratio. If you make it 600 × 400, it keeps that ratio and appears proportionate. If you force it to 600 × 600 without cropping or adding space, the original content must be squeezed or stretched to fill the square.
Also distinguish pixel dimensions from file size. Pixel dimensions are written as width × height, while file size is the amount of storage the image uses, often shown in kilobytes (KB) or megabytes (MB). Resizing can affect file size, but the result also depends on the image format, detail, and compression settings.
When the source and target aspect ratios differ, there is no way to keep every part of the original image, preserve its proportions, and fill the target frame at the same time. Choose the option that best suits the use case:
| Method | What it does | Best for |
|---|---|---|
| Crop | Removes parts of the image to fill the new frame without stretching. | Profile photos, thumbnails, and fixed-shape layouts. |
| Fit with space | Keeps the full image proportionate and leaves empty space around it. | Product images or artwork where nothing should be cut off. |
| Stretch | Changes the image proportions to fill the frame. | Occasional backgrounds or abstract images where distortion is acceptable. |
For example, turning a wide landscape photo into a square usually works best as a crop if the subject is centered. If the full photo must remain visible, fit it inside a square canvas and use a plain or matching background for the extra space.
Downsizing a large image is usually straightforward, but enlarging a small one cannot restore detail that was never captured. If you need a 1600-pixel-wide image, starting with a crisp source that is at least that wide is generally safer than enlarging a much smaller file.
Each time you resize and re-save a compressed image, you may lose more detail, especially with formats such as JPEG. Keep the original untouched, make the size change once, and save a new copy. If you need several versions, generate them from the original rather than resizing one version over and over.
JPEG is commonly used for photographs, while PNG is often useful for graphics that need transparency or crisp edges. WebP may be accepted by many websites, but check the destination’s requirements first. A platform may reject a format even if the pixel dimensions are correct.
After saving, check the image properties or open it in an image editor and look for its width and height in pixels. On many computers, you can select the file and view its properties or information panel. If the image is for a website or application, make sure the actual uploaded file—not just a preview or display setting—meets the stated dimensions.
Keep a copy of the original, name the resized version clearly, and review the image at normal viewing size. Confirm that the subject is not clipped, text remains readable if present, and the image has not become stretched or unexpectedly soft.
Yes, if the source and target have the same aspect ratio. If they differ, keeping the full image means leaving space around it or changing the proportions through stretching.
Reducing dimensions may remove detail, and repeated saving can add compression artifacts. Enlarging cannot recreate missing detail, so use the highest-quality source available and resize it once.
No. Pixels describe an image’s digital dimensions. DPI or PPI describes how pixels are distributed for print. For most online uploads, follow the required pixel dimensions.
Use a resizer with a batch or bulk option, enter the target dimensions, and check that the chosen crop or fit behavior works for every image. Different source shapes may need individual adjustments.
Choose a tool that processes files in your browser rather than uploading them to a server. ToolCMB’s Image Resizer runs in your browser, so your files stay on your device.
We build fast, free and private browser tools — and write practical guides on how to use them.
Learn how to remove a white background from a product photo, preserve clean edges, export a transparent PNG, and avoid common cutout mistakes.
Learn how to extract text from a screenshot on Windows or Mac using built-in features, PowerToys, or browser-based OCR. Get clearer results and keep private information in mind.
Convert JPG images to WebP online for free with ToolCMB. Learn when WebP is a better choice than JPG, how to convert images without installing software, and what to check before using WebP on a website.
Start typing to search tools and articles.