How to Convert JPG to WebP Online
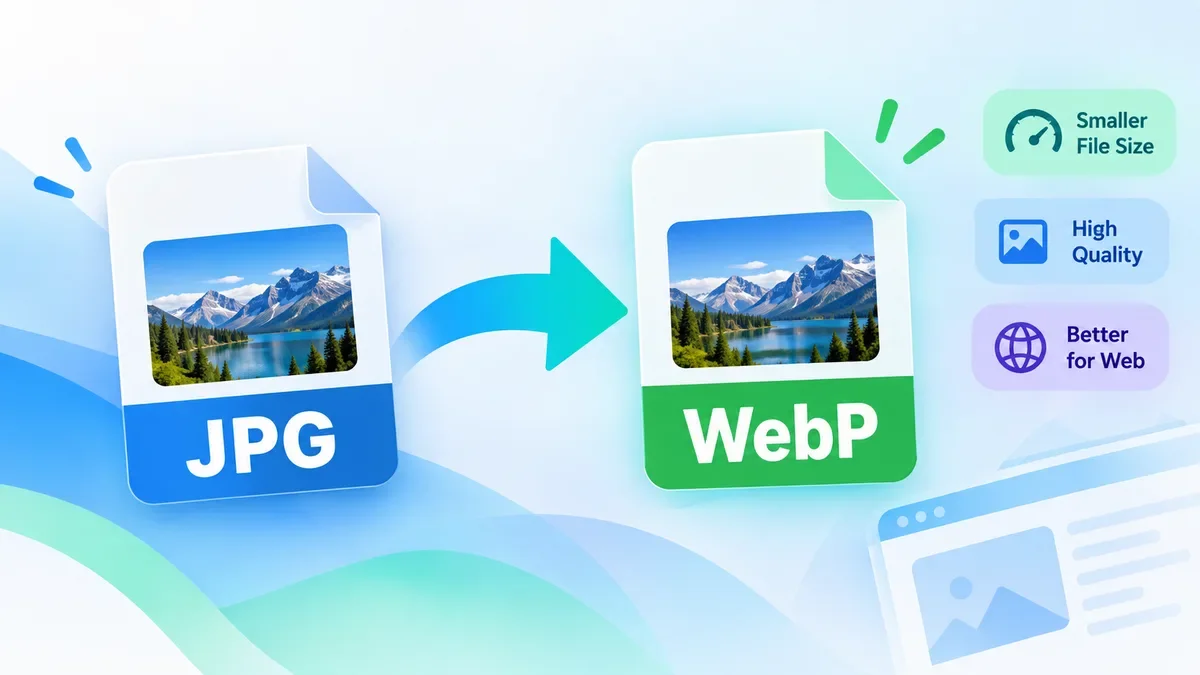
Convert JPG images to WebP online for free with ToolCMB. Learn when WebP is a better choice than JPG, how to convert images without installing software, and what to check before using WebP on a website.
Learn how to resize an image without losing quality. This guide explains how to choose the right dimensions, preserve aspect ratio, avoid stretching, use the right resampling method, and resize images for websites, social media, printing, and other common uses.
 ToolCMB Team
8 min read
ToolCMB Team
8 min read
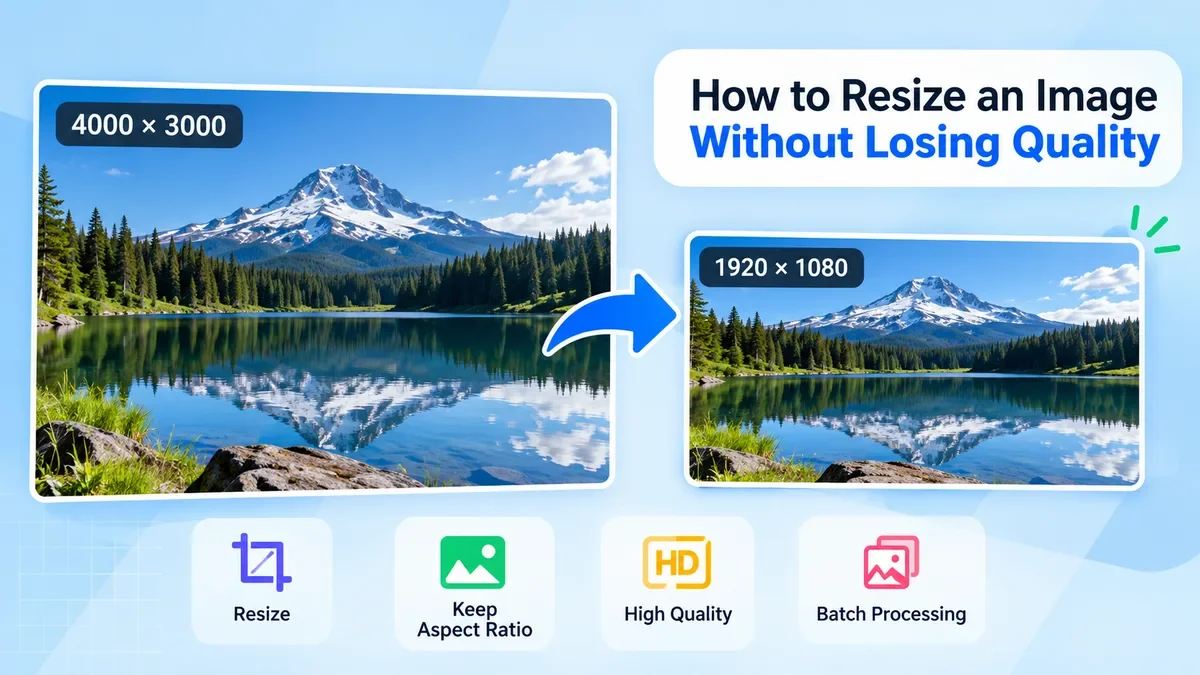
Resizing an image means changing its pixel dimensions. For example, you might reduce a 4000 × 3000 photo to 1920 × 1440 pixels for a website, or resize a photo to a specific size for social media or printing.
The challenge is that resizing can affect sharpness, proportions, and file size. If the image is enlarged too much or resized using poor settings, it may appear blurry, pixelated, or distorted.
The good news is that you can resize most images while keeping them looking sharp by using the right dimensions, maintaining the original aspect ratio, and choosing an appropriate resampling method.
Whenever possible, resize the original, highest-resolution version of your image.
Repeatedly resizing an already compressed image can gradually reduce its quality, particularly with lossy formats such as JPG.
For example, if you have a 4000 × 3000 photo, it is generally better to resize that original file directly to 1920 × 1440 than to resize it several times through intermediate dimensions.
Keeping the original file also gives you more flexibility if you later need a different size.
One of the most important rules when resizing an image is to preserve its aspect ratio.
The aspect ratio describes the relationship between an image's width and height. A 16:9 image, for example, has a wide landscape shape, while a 1:1 image is square.
If you change the width without proportionally changing the height, people and objects in the photo can appear stretched or compressed.
A better approach is to enter either the width or height and let the other dimension adjust automatically.
For example:
Original: 4000 × 3000 pixels
New width: 2000 pixels
New height: 1500 pixels
The image becomes smaller while keeping the same 4:3 proportion.
With the ToolCMB Image Resizer, you can leave one dimension set to Auto so the original proportions are preserved.
Sometimes you don't just want to make an image smaller. You need to fit it into a different shape.
For example, you may have a landscape photograph but need a square image for a social media post.
Simply changing both dimensions independently would distort the image.
Instead, use one of these approaches:
Crop removes part of the image so it fills the new dimensions.
Fit keeps the entire image visible while fitting it inside the target dimensions.
Pad keeps the complete image and adds space around it to fill the required shape.
Stretch changes the proportions of the original image and should generally be avoided for normal photographs.
ToolCMB supports these options when the target shape differs from the original. You can also adjust the crop position to control which part of the photograph remains visible.
There is an important difference between making an image smaller and making it larger.
Reducing an image is usually straightforward because the software can combine information from neighboring pixels.
Increasing an image is more difficult. If the original photograph is only 800 × 600 pixels, resizing it to 3200 × 2400 pixels does not magically recover four times as much detail.
A high-quality resampling algorithm can make an enlarged image look smoother and more natural, but it cannot recover information that was never present in the original.
For this reason, avoid enlarging images more than necessary.
If you need to enlarge a photo, start with the highest-resolution original available.
The resampling algorithm determines how the pixels are calculated when an image changes size.
For photographs and many general-purpose images, a high-quality resampling method can produce noticeably better results than simple pixel scaling.
ToolCMB uses Lanczos3 resampling for image scaling. This is designed to preserve sharp edges and fine details when reducing or enlarging images.
For logos, pixel art, or graphics where hard pixel edges need to remain unchanged, a different resampling method such as nearest neighbour can be more appropriate.
There is no single "best" image size.
The correct dimensions depend on where you plan to use the image.
Some common examples include:
| Use case | Example size |
|---|---|
| YouTube thumbnail | 1280 × 720 px |
| Instagram portrait post | 1080 × 1350 px |
| Instagram / TikTok Story | 1080 × 1920 px |
| Facebook / LinkedIn link image | 1200 × 630 px |
| Full HD wallpaper | 1920 × 1080 px |
| US passport photo | 600 × 600 px |
These presets are available directly in ToolCMB's Image Resizer, along with many other ready-made sizes.
Using a suitable target size can help avoid unnecessarily large images that take longer to load and consume more storage.
Large photographs can significantly increase webpage file sizes.
For example, a modern smartphone may produce an image several thousand pixels wide even though the website only displays it at 1200 or 1600 pixels.
In that situation, resizing the image to a more appropriate display size can reduce unnecessary data.
For many websites, an image does not need to be wider than 1920 pixels unless there is a specific reason to use a larger source.
After resizing, you can also choose a modern image format such as WebP or AVIF when it is appropriate for your website.
ToolCMB allows you to resize an image and change its output format in the same workflow. Supported output formats include JPG, PNG, WebP, AVIF and several other formats.
For JPG, WebP, and AVIF images, compression quality can affect both appearance and file size.
Higher quality generally produces a larger file, while lower quality produces a smaller file but can introduce visible compression artifacts.
Instead of always choosing the highest possible quality, consider the actual purpose of the image.
A photograph displayed as a small website thumbnail does not necessarily need the same quality setting as a high-resolution image intended for printing.
ToolCMB also provides a file-size limit option. For example, you can target a maximum file size such as 100 KB, 200 KB, 500 KB, or 1 MB, and the tool can adjust the output quality to meet the limit.
Pixel dimensions are not the only consideration when preparing an image for print.
You also need to consider the physical print size and resolution, commonly expressed in DPI.
For example, a 6 × 4 inch photograph at 300 DPI requires:
6 × 300 = 1800 pixels
4 × 300 = 1200 pixels
So the image should be approximately 1800 × 1200 pixels.
ToolCMB includes a Print Size option where you can enter dimensions in inches, centimetres, or millimetres and select the DPI. The tool then calculates the required pixel dimensions.
For typical photo printing, 300 DPI is a common target.
If you have many photographs that need the same dimensions, processing them individually can take a lot of time.
Batch resizing lets you apply the same settings to multiple images.
For example, you might have a folder containing 200 product photographs and want every image to have a maximum width of 1600 pixels.
Instead of opening and resizing each file separately, you can add the entire folder, configure the resize settings once, and process the images together.
ToolCMB supports batch processing and ZIP downloads, so multiple resized images can be downloaded together.
Images can contain personal or sensitive information. You may not want to upload private photographs to an unknown server just to resize them.
ToolCMB processes images directly on your device using browser-based technology. The images are not uploaded to the server for resizing.
This can be useful when working with:
Personal photographs
Screenshots
Documents containing images
Product photos
Private business assets
Photos containing sensitive information
The browser-based approach also means you can resize images without waiting for a server-side processing queue.
You can resize an image in a few simple steps:
Step 1: Add your image
Open the ToolCMB Image Resizer and drag your images into the tool, choose files from your device, add a folder, or paste an image from the clipboard.
Step 2: Choose the target size
You can resize by:
Exact pixels
Percentage
Longest side
Print size
Preset dimensions
Keep one dimension on Auto when you want to preserve the original proportions.
Step 3: Choose how to handle different shapes
If the target aspect ratio is different from the original, choose Crop, Fit, or Pad depending on your needs.
Step 4: Select the output settings
Choose the output format and adjust quality if necessary. You can also use options such as file-size limits, metadata settings, and other advanced controls.
Step 5: Preview and download
Check the resized image, make any necessary adjustments, and download individual files or all processed images as a ZIP archive.
Stretching the image
Changing width and height independently can make people, products, and other objects look distorted.
Enlarging a very small image too much
Upscaling cannot restore detail that was not present in the original image.
Using unnecessarily large dimensions
A 6000-pixel-wide photograph may be excessive for a webpage that displays it at 1200 pixels.
Ignoring the aspect ratio
A correct target size can still produce a poor result if the original image is forced into a different shape.
Compressing too aggressively
A very small file can come at the cost of visible artifacts and loss of detail.
Using the wrong output format
JPG is useful for many photographs, while PNG is often preferable when transparency or lossless graphics are important. WebP and AVIF can be useful for modern websites.
The best way to resize an image without losing unnecessary quality is to start with the highest-quality original, preserve the aspect ratio, choose an appropriate target size, and use a good resampling method.
For smaller images, quality loss is usually minimal when the resizing process is handled correctly. For enlargement, remember that no resizing algorithm can recreate details that were never captured by the original image.
If you need to resize several images, prepare images for social media, convert image formats, or create print-ready dimensions, an image resizer with presets, batch processing, and browser-based processing can make the workflow much faster.
Resize your images with ToolCMB Image Resizer. How to Resize an Image Without Losing Quality
We build fast, free and private browser tools — and write practical guides on how to use them.
Convert JPG images to WebP online for free with ToolCMB. Learn when WebP is a better choice than JPG, how to convert images without installing software, and what to check before using WebP on a website.
Learn how to convert PNG to JPG online, understand what happens to transparency and image quality, and choose the right format for photos, websites, screenshots, and everyday sharing.
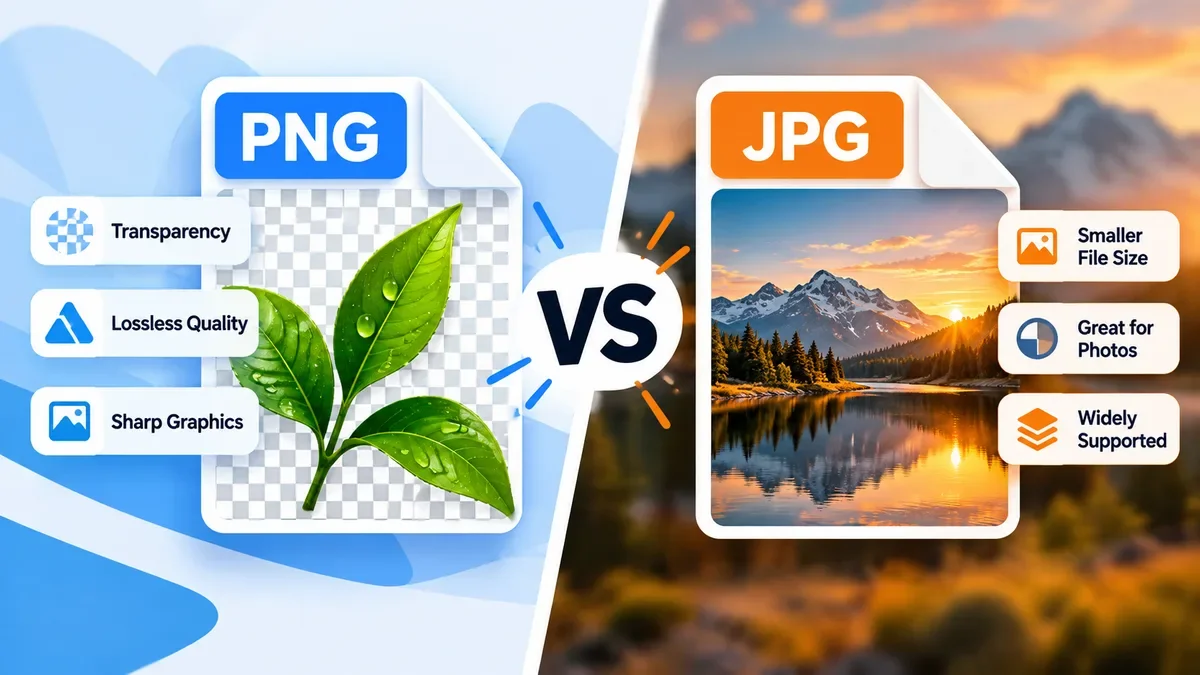
PNG and JPG are two of the most widely used image formats, but they are designed for different purposes. Learn when to use PNG for transparency and sharp graphics, when JPG is better for photographs and smaller file sizes, and how to choose the right format for websites, social media, and everyday images.
Start typing to search tools and articles.